

I contacted the guys at Tailfin as I’d seen their racks a few times on social media, and they seemed very low profile and well designed on screen but what really piqued my interest was the fact that they were quick release and dropper post friendly compared to other racks.
Most racks either bolt directly to the frame and stay fixed to the bike or bolt around the seat post which isn’t an option if your bike has a dropper post fitted.
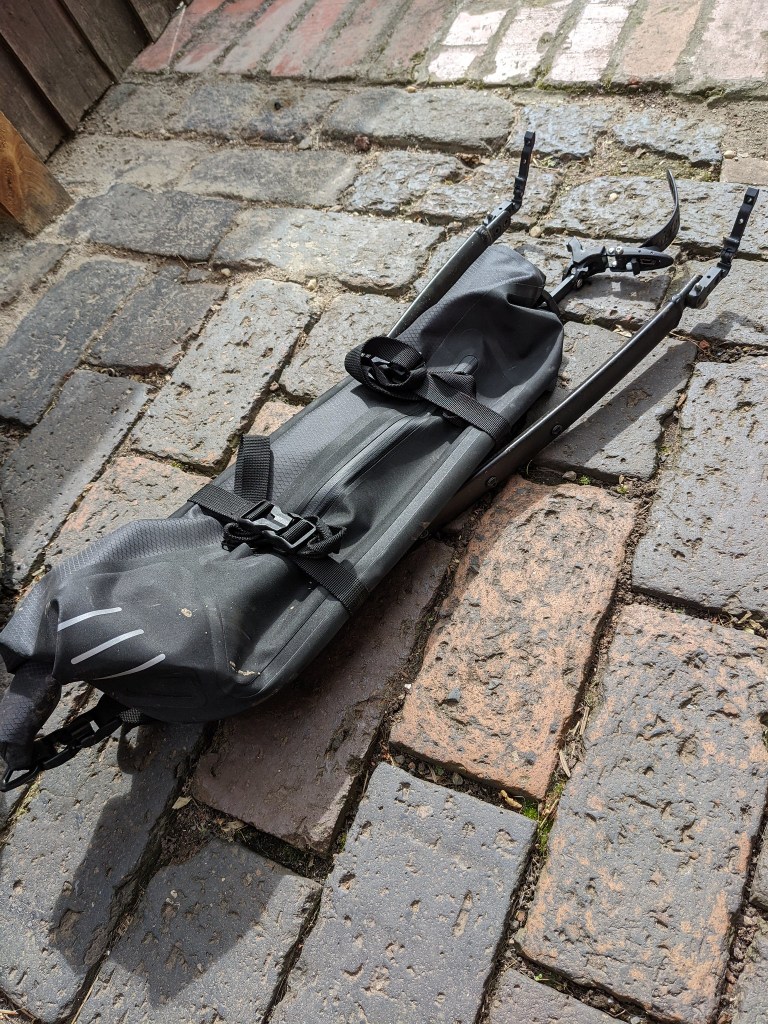
Chatting to Tailfin as to which would be the best rack to try out of their range it was suggested the Aero Pack would be good if using the bike off road. This features the “bag” part of the rack as part of the structure and isn’t detachable from the rest of the rack. This slight inconvenience is outweighed by the added stability of the rack over rough ground.


I received the Alloy Aero Pack and it arrived in one big box containing 3 smaller boxes. My first thought was that they had forgotten to send the bag part of the kit as there just didn’t seem to be much bulk to the boxes. However, when properly unpacked the boxes contained a set of multiple bolt through axles, the alloy “loop”, some quick release brackets, the roll top bag and an assortment of pre-thread locked bolts for assembly. As is the norm these days there was no instruction manual but Tailfin send a link to the comprehensive online instructions with your order confirmation email.
Assembly is straight forward though, I’d recommend laying out all the various pieces in front of you and do a mockup of the fitting first, this really helps when sorting out which bolt goes where.
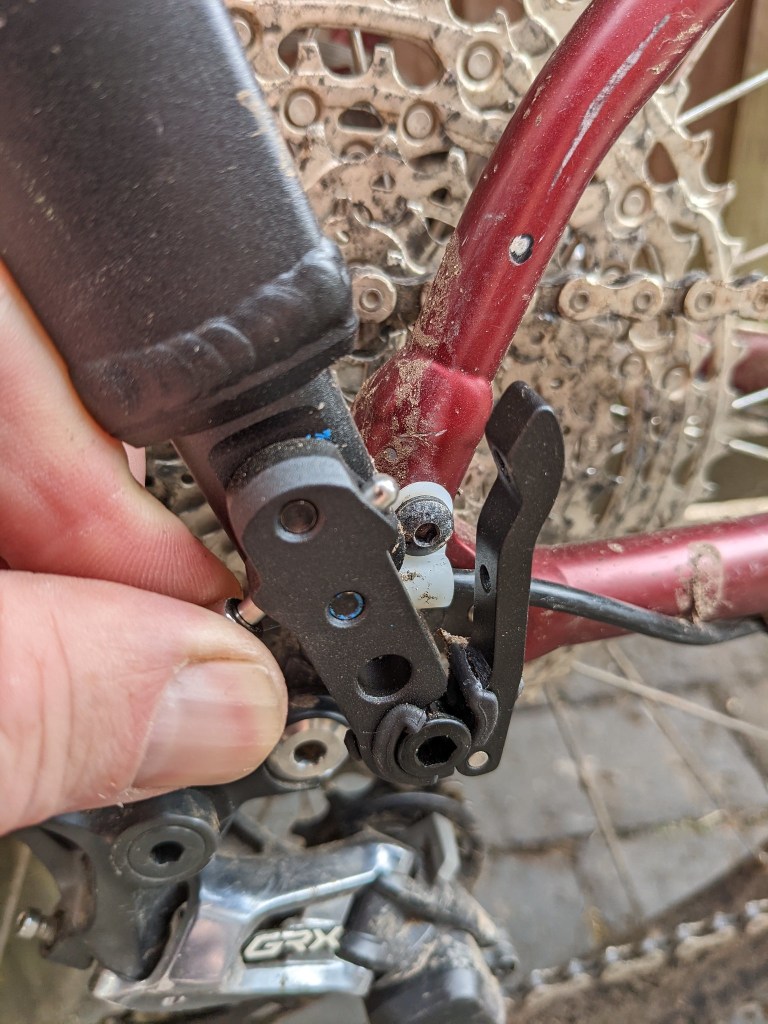
First thing to do is find the correct bolt through axle adaptor (or quick release) you can do this by offering up your present one against the ones in the kit, find one a little longer as the ends protrude from the fame for the rack to fit on, and add a spacer to the non-drive side etc. if needed.


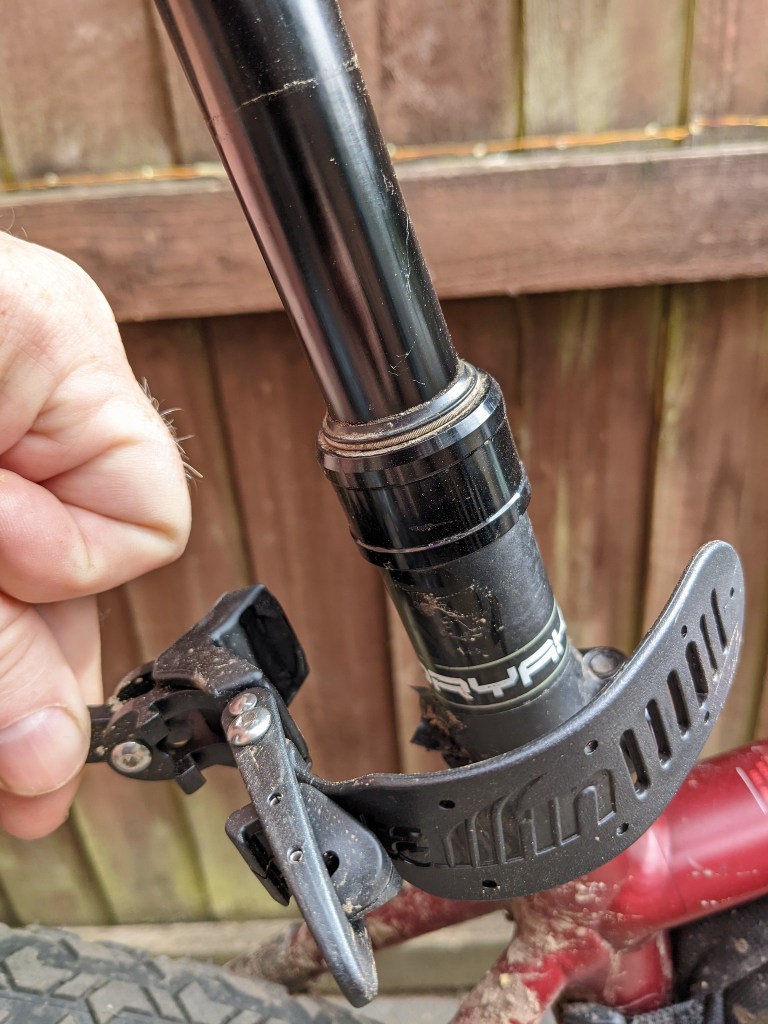
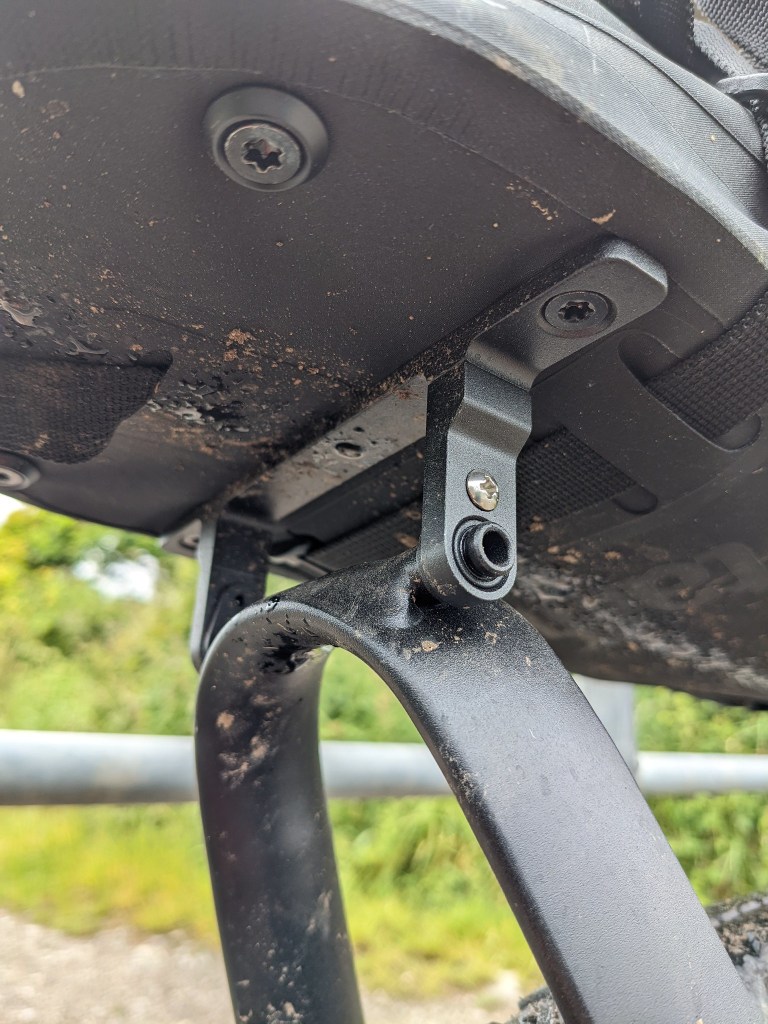
I attached the quick release brackets to the alloy stay first, fitted them to the axle and then again mocked up the position of the back so you can choose which length of seat post quick release would be needed. Once that was done, I could remove the Alloy loop from the bike and attach that seat post bracket and the alloy loop to the bag. It sounds complicated but it really isn’t, and I hope the pictures help to show this. The seatpost bracket is available with two lengths of strap to accommodate oversize or aero seatposts.

When fitted the rack is sturdy, there’s no rattle from side to side and all the brackets close with a satisfying click. Throughout the test they have never come undone but when you need to undo them it’s pretty much a one-handed job, check the video below to see this.

The bag part of the rack is made of a laminate material and it looks sturdy and if something can LOOK waterproof this one certainly does. It’s a roll top design which means it’ll easily carry small or overly tall loads, when rolling down the air trapped inside escapes quickly so all space can be compressed to lower the Centre of gravity. There is a clip either end of the bag and two straps and clips around the body which really cinch the bag down well securing any cargo from moving about. There are two “easy access” pockets, one per side and a loop if you want to run a tail light.
The alloy loop has “anything cage” mounts on either side (you can opt for pannier attachments when ordering as an alternative)

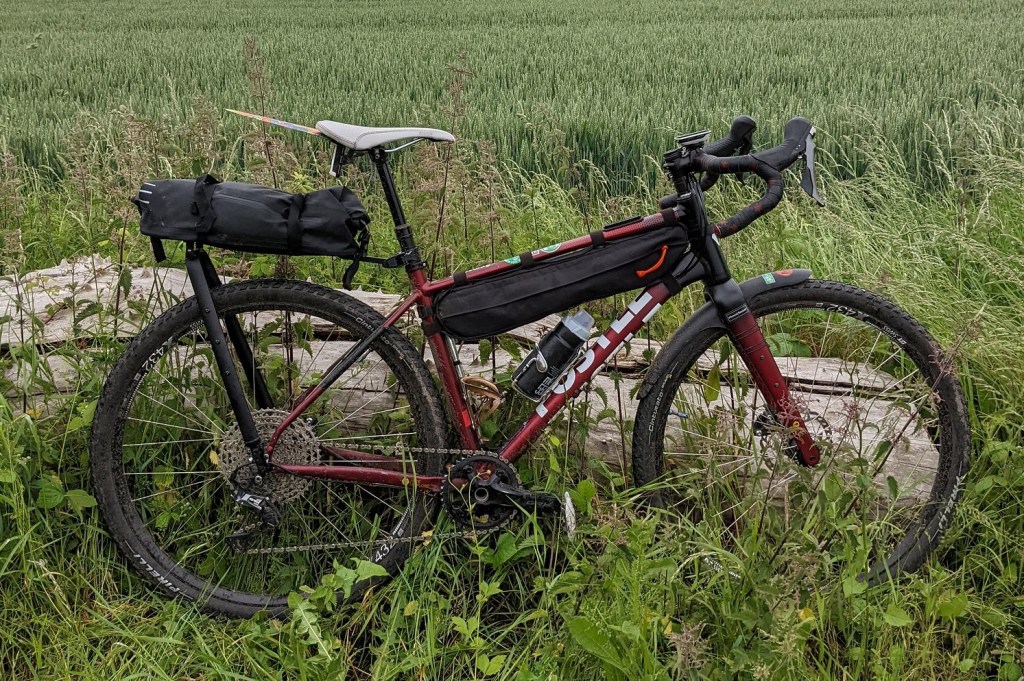
Weighing in at an astonishing 894g including the bag this really is a lightweight marvel, you can go even lighter if you go for the carbon version! The rack has a 9kg weight limit (the pannier version is 27kg) and the bag has a 20L capacity. Obviously, this rack was fitted to my gravel bike but because the loop-bag attachment uses a pivot it’ll also fit to a full suspension MTB too.
As mentioned, the bag is made of a laminated material with all the seams welded for 100% waterproof piece of mind, it has reflective panels for safety and loops to attach lights.
Riding with the Tailfin Aero rack is just like riding on your normal bike, it is low profile and if the bag is empty, you’d hardly notice it was there, even unladen with the straps secured there’s no rattle or movement. Add some weight and although yes you notice that on climbs there’s absolutely no side-to-side swing or movement. Loaded up I was impressed how sturdy the rack was given its lightweight construction. When I deliberately got close to the max recommended weight and the roll top of the bag only just closed, I didn’t feel any lateral movement of the rack and although then you could feel the influence of the load when climbing out of the saddle swinging the bike side to side it wasn’t disconcerting and there wasn’t a pendulum effect. (Try a heavy carrier bag on one side of your handlebars to see what that effect is like)


On rough off-road descents there’s no feeling that the rack is trying to over take you and it doesn’t even rattle as you hit the bumps. Nothing has come loose, bolts have not needed retightening through out the test despite the constant vibrations of the trail buzzing through the bike.

The roll top means it’s easy to access the contents of the bag and the straps, once cinched down don’t move so you know the contents are secure. The beauty of the roll top is that you can always stash “just one more thing” in there in an emergency. The thing I most wanted to check out was it’s dropper post compatibility and I can say that it is 100% dropper post friendly. I know there is split opinion about dropper posts on gravel bikes, but I’ve found when exploring new places where you’re not sure of the trail features ahead the ability to get that saddle out of the way is a godsend and with the Tailfin system you can do this without interfering with the rack/bag.
If you were bikepacking/touring and staying in accommodation, then the whole rack and bag demounts in seconds and can be carried to your room/bothy/hammock easily and the light weight means you are not lugging a bit load around. Then when it’s time to ride again the rack mounts to the bike just as quickly.
I was really impressed how well the Tailfin Aero Pack rack was constructed, it really is head and shoulders above other racks I’ve experienced.
The off road performance is exemplary, you’ve only got to see how many long distance riders are using these racks to realise how reliable they are, those riders do not compromise when it comes to the kit they fit to their bikes.
Now, to get all this performance and design you’d expect the price to be pretty high, and it is quite steep compared to a cheap bolt on rack but in this case, I think it’s totally worth it. I can’t think of a single thing that this rack is missing or how it could be improved.
If you want top quality materials, and a design that excels at its job then look no further the Tailfin, the only dilemma is should you go alloy or carbon?
Tailfin’s website with details of all their racks and bags can be found here
Tailfin’s Instagram account
Check out the video below for ride footage and beer calamity!
