
Fara F/Gravel Bike Review

I only had the chance to ride the Fara F/Gravel bike for just under two weeks before it was whisked away to another reviewer/press day but in that time I pretty much covered all the local trails that I regularly ride on my own gravel bike which I thought would be a good comparison.

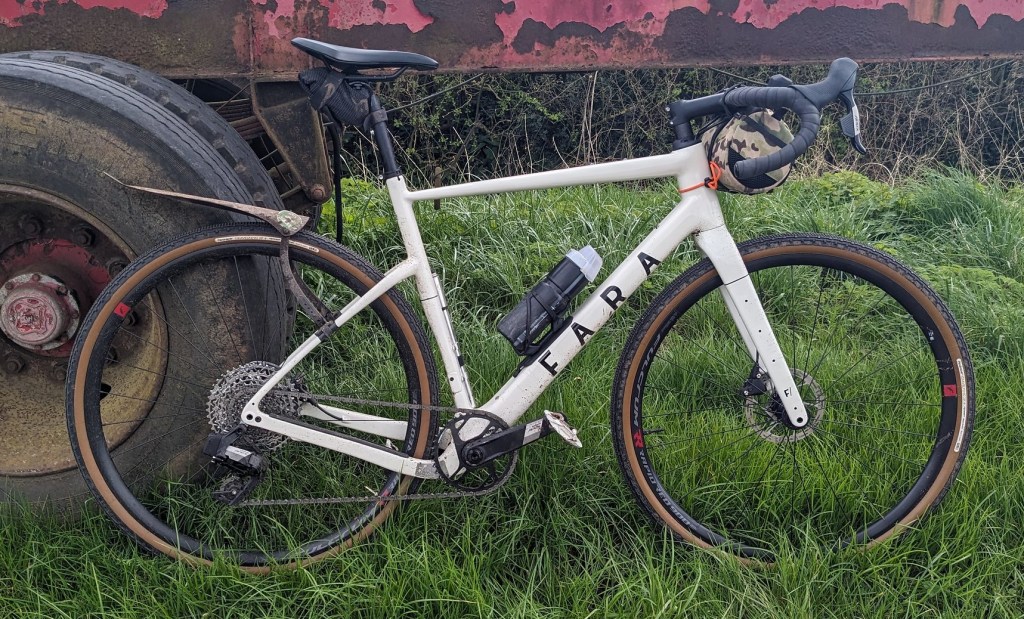
Fara Cycles is based in Norway so they have plenty of rugged off road riding there to be able to design a great riding bicycle. Fara say their F/Gravel bike is “our go anywhere, ride anything, adventure bike. Ultimately, it can handle nearly any type of off-road riding you feel comfortable throwing at it. It has nimble handling and 50mm tyre clearance, meaning you can cover rough terrain with confidence and in relative comfort. Wide tire clearance and a rugged carbon frame empowers you to tackle the roughest terrain. Ready to take you to incredible places. Shred ready, Both lightweight and responsive, the F/Gravel’s geometry is oriented towards the “fun” side of gravel riding with a shorter wheelbase and sporty handling

The frameset is carbon, the frame has a claimed weight of 1300g, not superlight these days but certainly lighter than any of my own bikes. With a stock Sram Apex AXS XPLR 1×12 build with a Fulcrum Rapid Red 900 DB wheelset, ritchey Butano bars (42cm) and stem (100mm) and a Fara carbon “2 flex” 27.2 seatpost the bike weighed in around 24LBs (10.8k approx) so not exactly heavy!
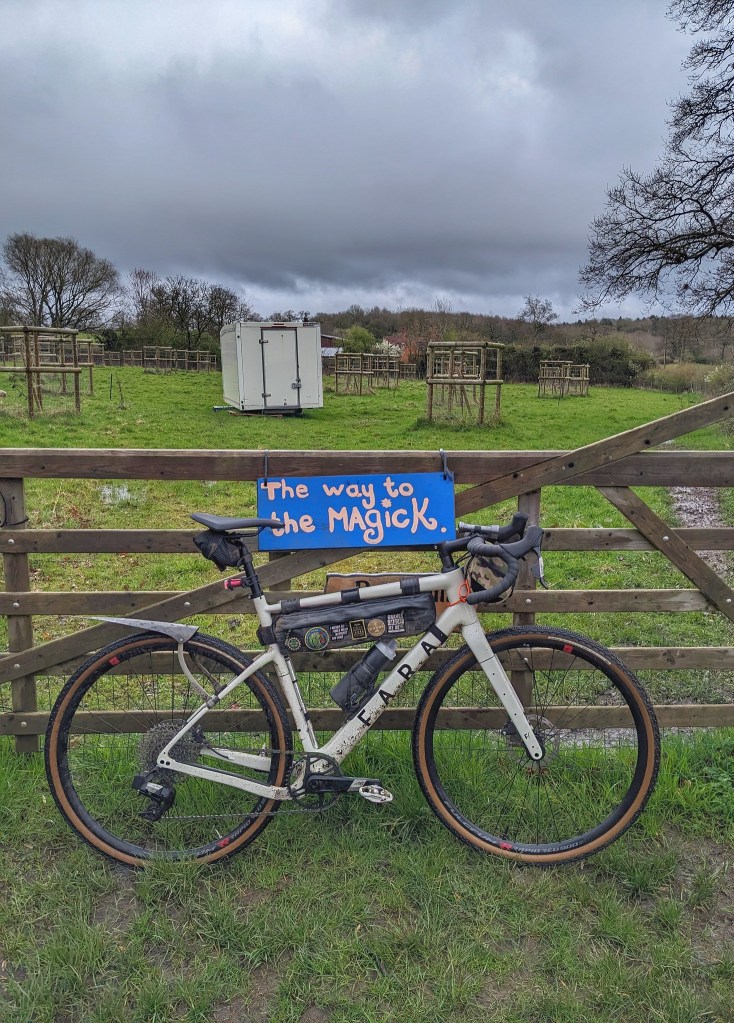
The frame has internal cabling from the bars that go through the headset and because of it being wireless shifting this means only the brake hoses making the bike look very clean indeed (until I rode it in the UK weather!) there are triple fork mounts on each fork leg, three sets of bottle cage mounts and a top tube bag mount and eyelets for mudguards if required. there are also mounts under the tip tube to enable strapless fitting of Fara’s frame bag, a very neat touch. the frame bag costs £88 as an optional extra.

The clearance for tyres on this bike is a claimed 50mm and with the 43mm gravel kings that came fitted to the wheels there was acres of room both in the fork and the frame. There didn’t seem to be provision to fit a dropper post. The bottom bracket is a thread in T47 unit, no pressfit bearings in this frame I’m delighted to say. both axles are bolt through as you’d expect.

So how does it ride? well first of all just scroll back up to the bold text where I quoted Fara’s mission statement for the bike. “shred ready, Adventure, Go anywhere, Confidence and comfort” this is great, just what probably 90% of the riders buyibg a gravel bike want but here I have a problem, well two problems really…

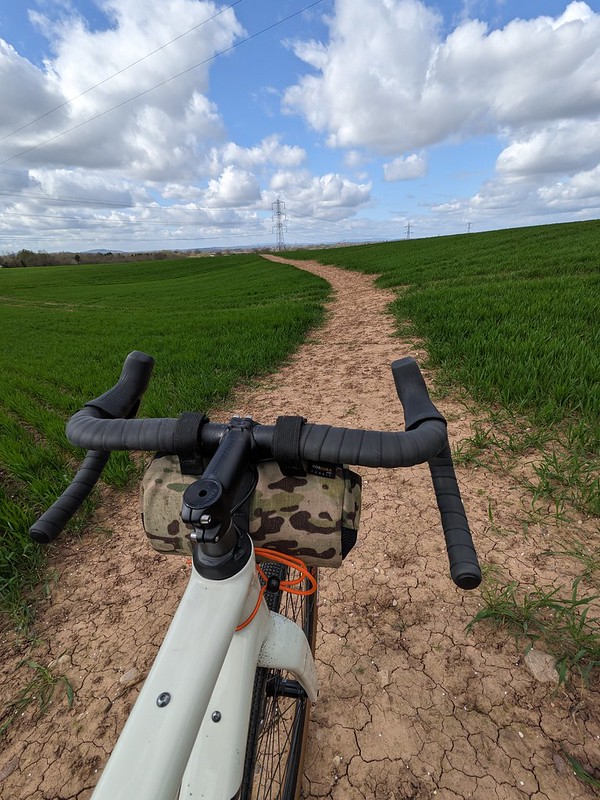
The first is easy to fix and totally understandable. The gravel king tyres (old style not just launched version) just do not work in UK winter/spring or autumn, they clog up with mud, don’t clear and do not inspire confidence on wet terrain, that sort of terrain you might encounter on an adventure say, while you are going “anywhere” etcetc, you see my point. Well, as I said it’s understandable, Fara can’t specify tyres for each country they seel bikes too. GK tyres are probably perfect for California or a desert country so I can forgive them that. What I don’t get is the narrow aero profile handlebars, 42mm on a bike designed for someone tall enough to fit a 56cm bike is just too narrow. There is no flare and the reach is fairly long. If you pitch a bike for adventures and laden bike packing you need to spec a wider, more confidence inspiring bar, especially if that rider is tired and doesn’t know what trail obstacle is around the next corner. Plus if you are bike packing you are only getting a tiny bar bag inbetween those drops. Now you can, if not buying the off the peg bike but are using the bike builder portion of Fara’s website choose a different bar and stem but even then the bars are only 2cm wider and the stem 20mm shorter if you follow their recommendation. This obviously adds to the price though.
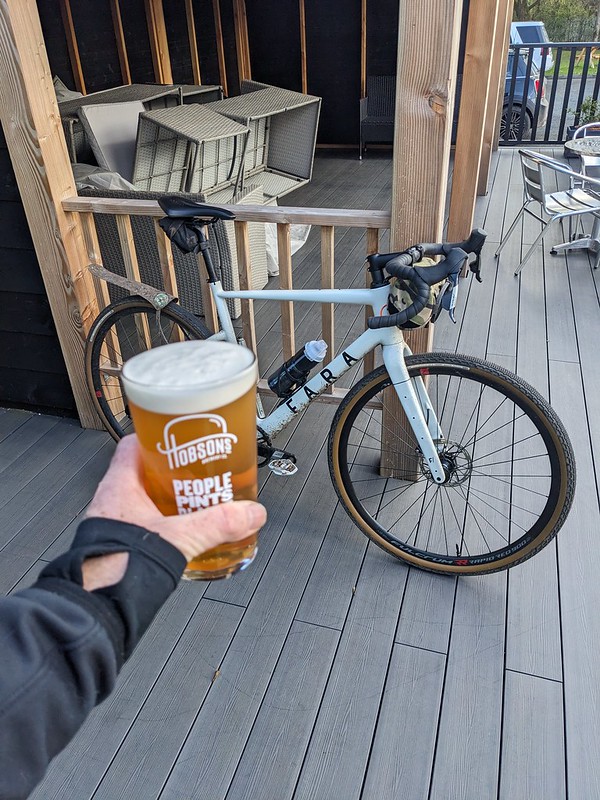
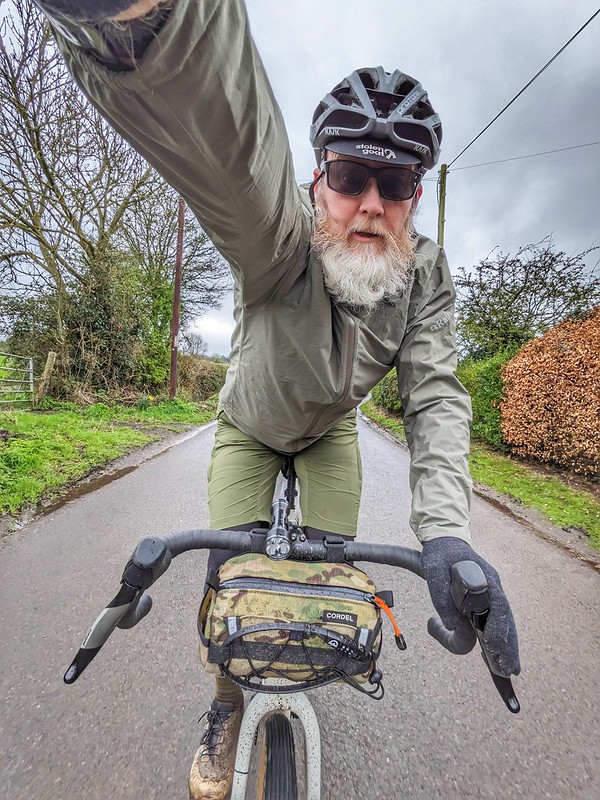
Well, sorry if that came across as a bit of a rant, it wasn’t meant to be but that bar did annoy me and that is because THE FRAME AND FORK IS VERY VERY GOOD! It’s responsive, push on the pedals and all the power goes to the rear wheel but the rear end doesn’t feel stiff, that carbon seatpost absorbs a lot of trail chatter. the head angle is just in the sweet spot of great handling without being ponderous on the tarmac and despite Fara saying the bike has a short wheelbase there was absolutely no toe overlap. this is a great frameset just let down but a simple bit of specification. Pop a shorter stem and a 440-446cm bar with some generous flare and a short reach, something like a Ritchey Corralitos bar and this bike would absolutely fly!
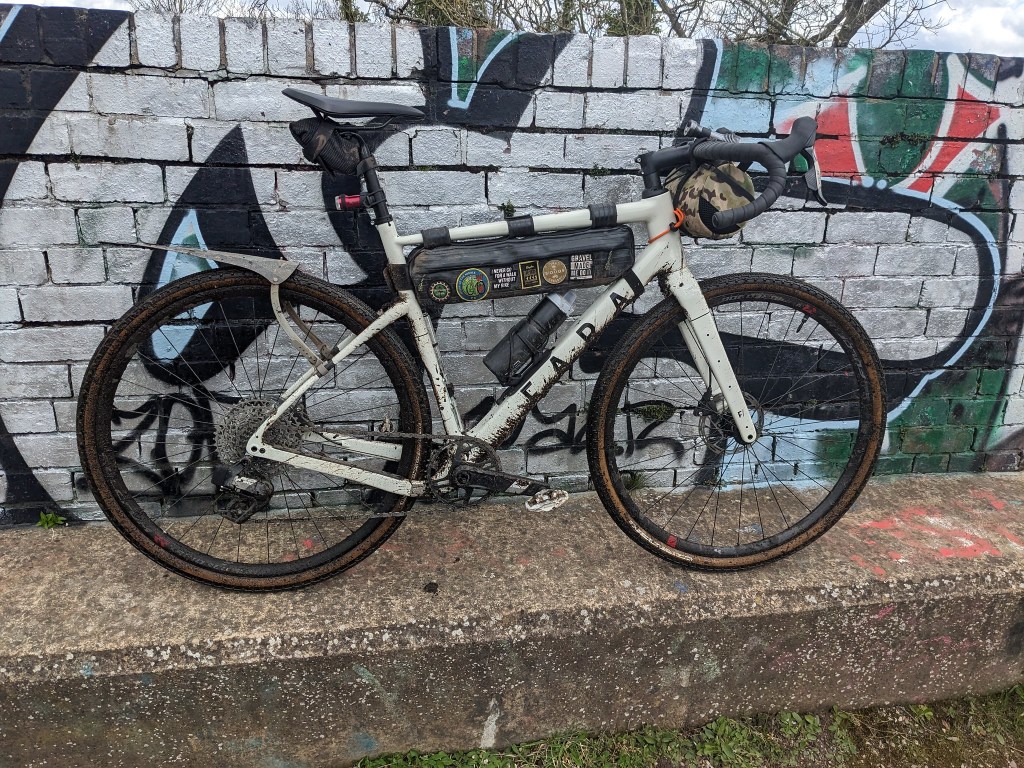
I should say something about the AXS groupset, but there’s not a lot to say, it performed faultlessly and silently throughout the test in both mud and dry…..as long as you remember to charge the battery!

So the Fara F/Gravel bike. it’s got an outstanding frame and fork, the geometry is sorted for what Fara have designed the bike for, it’s just failed at the final fence by speccing it with a bar more suited to road racing or gravel racing. Something that I hope Fara will notice if they read this review.
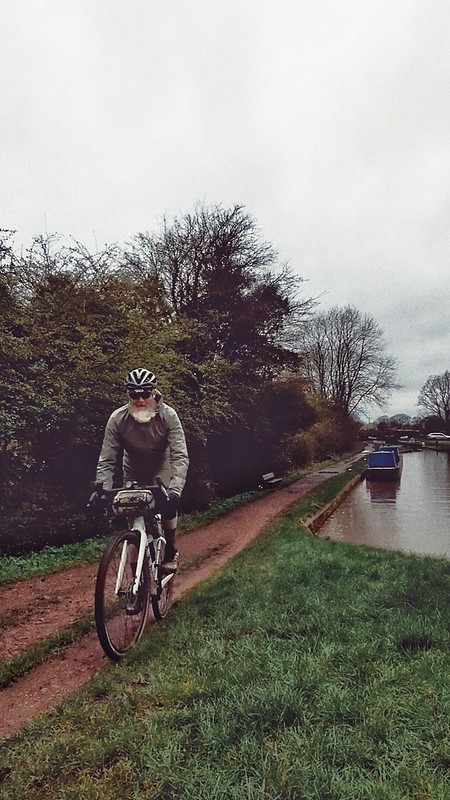
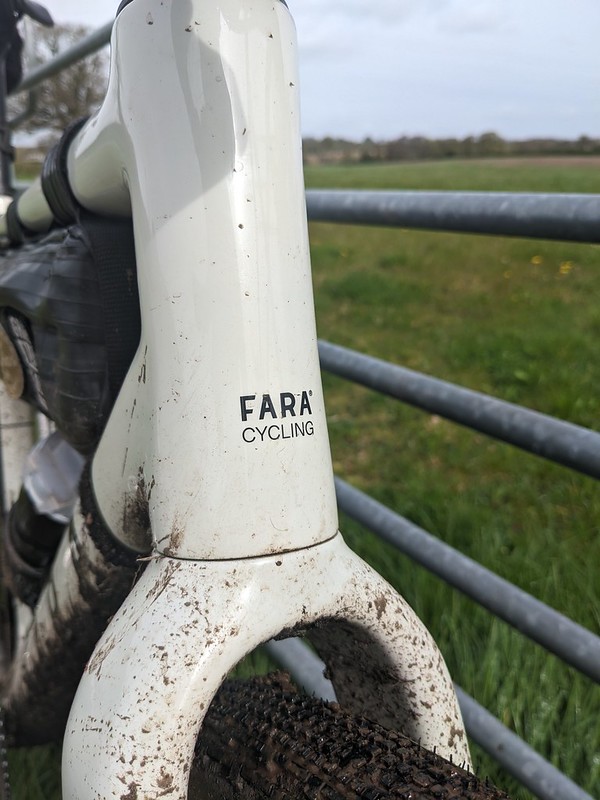
I’d have a Fara F/Gravel in an instant, but the next instant I’d be replacing the bars whith something to really make it into the ultimate gravel bike.

you can find more details on the Fara Cycles Website

Check out my ride review on YouTube

Out of the ‘Ditch 24

Back in February 2024 the guys at The Cycle Studio in Redditch, Worcestershire (my local bike shop) said they wanted to organise a social ride day from the shop and would I be able to sort out a suitable route or two for the event.

Of course I said yes, feeling flattered that they would ask me. I thought, how hard could it be? Afterall I pretty much know the local area like the proverbial back of my hand. It would be a cinch! Spoiler alert, turns out it wasn’t as straight forward as I expected it to be.

They asked for two routes, a shorter one of around 20 miles (32ish Km) and 30 miles (38ish Km) with a mixture of quiet tarmac lanes, bridleways and cycle paths. What I came back with was 4 routes, the shortest 25 miles, the extra longest 45 miles with LOTS of climbing. Hmm, turns out this route planning lark is hard when you are not just taking your own fitness, technical riding ability and the scenery for granted. I needed to cater for everyone but I think I also wanted to showcase the best of everything in one hit. I wanted it to feature the entertaining descents, the challenging climbs but with that came the thought that riders might find it boring which constantly nagged at the back of my mind. Its not exactly prime gravel/XC riding territory around here so a bit of route anxiety had taken hold.

Luckily Alex and Pasq at the shop had more sensible heads on and chose 2 of the routes to base the final decision on. We also did a recce of the long course too. Unfortunately on that day we suffered through rain, hail and winds gusting to 46mph!

one of the disgarded routes

What this did highlight though was to make the route rideable even if the end of April turned out as wet as it was at the beginning. So a few diversions to avoid the potential worst sections were made and well, we crossed our fingers that riders would still find it interesting and enough of a challenge to tell their friends about it and spread the word.

The ride was advertised as a social ride and although it was free to enter we asked riders to book so we could guage how many were likely to turn up. In the end 75 people booked a spot!

This really was where my involvement stopped, but I can tell you there was a huge amount of work going on behind the scenes from Alex, Pasq and Rob. For a small fee food could be pre-ordered and Chef Chris took on the catering role. Gavin from No3a events brought his H-Wagon bar for post ride refreshments, extra seating, tables, cakes and the ever tasty cycle Studio coffee was topped up. Even a tea-urn appeared (insert your own dad joke here). Finally after much sharing of weather forecast app predictions via whatsapp the day finally arrived and everything was set.

I got to the shop early to help set up gazebos and layout the seating and riders where already there enjoying a warm drink because disappointingly the weather was not good. Over night rain turned into intermittent showers and temperatures of not much more than 8 degrees. I can tell you this made my pre-event nerves even worse, would anymore than a handful of riders turn up…….would i have to eat all the chocolate brownies myself?

I shouldn’t have worried, over 50 people turned up on a range of different bikes, we’d recommended minimum 35mm knobbly tyres, there were MTBs, emtbs, gravel bikes with curly and flat bars, old school hardtails and one guy on a canti-rim braked road bike with slick tyres. Knowing the route I did fear for him!

I’d been asked to say a few words to everyone before the ride began, what’s known as a rider briefing, suddenly it was all official and real. I stood up and delivered what became known as the “gospel of gravel”….actually I told them where the major obstacles were, to not forget to take spares, to not worry if they had to walk a section and to have fun!

And then they were off, all the planning, organising and hard work had worked and 50 odd riders were now going to judge the route for themselves…..oh blimey, the worry was not over!

Having ridden the route so many times I didn’t ride with everyone, best to let them try it for themselves. i decided to short cut to spots I thought would be good for photos, most of the ones you see on this page now. It was a huge relief to see smiles on faces and comments of “great course”, everyone seemed to be enjoying themselves. The greatest thrill for me though was seeing little groups of riders forming, most of who had not met until this ride, chatting and sharing the experience. This was what i hoped would happen when I first agreed to help out. Thinking about it now writing this a day after still gives me goosebumps.

When I made it back to the Cycle Studio riders were tucking into a fantastic chilli (i test tasted it before riding, gotta have some perks!) and beers of the alcoholic and non alcoholic variety whilst listening to Gav from No3a’s impressive sound system. People were chatting, sharing little adventures they’d had and saying how the routes were a great mix of surfaces and that it all flowed together with minimal road sections. Even the guy on slick tyres made it around the long route without incident!

Out of the ‘Ditch 24 was a great success, thanks to everyone who came, pedalled the courses, smiled, didn’t take themselves too seriously and met lots of other like minded people and maybe found new trails and made new friends to ride them with.

Massive thanks to Alex, Pasq and Rob at The Cycle Studio for all the real hard work organising the event and for asking me to help out. I know those guys were pretty tired at the end of the day after cleaning up and putting everything away, hopefully this event and the pictures and comments on social media will raise more awareness for the shop and maybe a few of those 50 riders who don’t already use The Cycle Studio for servicing or buying their next bike will now do so or tell their riding buddies to check tham out.

check out The Cycle Studio’s website and their socials here facebook and instagram

So guys, when are we doing another event?

Ridestash Components Bottle Cage mount

ridestash components

Some of the best ideas in cycling components come from someone who rides a bike and thinks, “Hmm, if i had something that did this it would make my riding life a lot easier”. That person then trawls the internet for said part and probably comes up with a few items that seem to fit the bill with a few unwanted extras or things that are almost right but not quite what the person had in mind completely and undoubtedly cost and arm and a leg. 9.9 times out of ten that person compromises but ends up generally happy with their purchase. The remaining 0.01 thinks, “right, I’ll just have to make it myself then”

One such person is Ryan Fearne from Ridestash Components. He saw a need for easily accessible and secure bike storage. He had the idea but made it harder for himself by having the goal of making it as sustainable as possible. Luckily Ryan is a bit of an expert at 3D printing and so the Ridestash bike mount went from idea to prototype to finished product and it’s all made in a bedroom in Glasgow!

The mount comes in two parts and there are also two versions. Both feature a piece that fits underneath your bottle cage and a piece that fits at 90 degrees to this via two bolts, this piece has slats so that you can thread through the elasticated strap which holds everything you want to the mount. The first is a straight forward under the cage mount using longer than standard frame bolts (provided by ridestash) which make up for the extra height the mount generates from being underneath. The second is an offset version. if you have minimal room on your frame this is the version to get. your cage bolts directly to the mount, not the bike frame and the mount then bolts to your frame. sounds confusing but basically it moves your bottle cage upwards by 35mm towards the handlebar end giving you more room to lash stuff to the ride stash mount. In all you need around 1.5cm of clearance to fit a standard inner tube, if still tight for room even with the offset version a turbolito or equivalent light weight minimalist tube might work better.

I managed to get a standard gravel bike tube and small box with tubeless tyre repair inserts and a tubeless tyre repair tool wrapped up and secure.

The ride stash mount is super secure, when I bolted it together I did wonder how strong it would be but all the fittings and threads are very well made and aligned perfectly and i’ve given it some abuse through some of the wettest weather for years. I guess being designed in glasgow the midlands weather means nothing to it! the elesticated strap is secured by velcro and this hasn’t budged at all. after a crash i had to push the tubeless tool back down slightly but that was a bit of an inpact with the ground so very impressed with the way it holds on to whatever you strap on to it. I did, in the interests of testing also give it a bit of a kick a couple of times, nothing budged, nothing shattered or cracked.

ridestash mount integration

As you can see from the picture the Ridestash mount intergrates well on my bike and frees up some room in the bags that would have been taken up with the tube etc. the only downside of course is that the tube and whatever you stash there will get a coating of mud in the worst weather. popping it all into a lightweigh waterproof bag and stashing that would be ideal.

Ryan’s idea has born fruit and The Ridestash Mount has performed flawlessly over around 2.5 months and for just under £21 for the standard mount it is worth every penny. Ryan also aceived his goal of sustainability as all the plastic used has been recycled. If this mount had a big companies name and brand printed on it it’d cost 3 times that, but probably will have been designed by a commitee rather than a rider like us who knows just whats needed. So, all hail the bedroom inventors!

you can find out and shop for the mounts at RIDESTASHCOMPONENTS.COM (non affiliate link)

Redshift Top Shelf Bar, Review and First ride

Redshift 50mm Top Shelf bar

If you asked someone to describe a gravel bike I’m pretty sure, apart from knobbly tyres they’d say a gravel bike has a drop bar handlebar. I know you can ride a flat bar gravel bike and I myself ran one for 18 months before buying my first drop bar bike but at the current time the predominant style of gravel bike comes with a drop bar.

Trouble is, not everyone either likes the look of a drop bar position or has had a cycling lifetime of experience on a MTB or hybrid bike with a flat bar. Lets face it, coming from a non drop bar the mere fact that the brakes are in a totally different place is daunting for a start! Also, you just might feel too stretched out on a drop bar bike (although please get the expert advice of a good bike shop when deciding on a bike as this might all be down to buying the incorrect size bike for your body shape). You might feel nervous on technical terrain, this is especially amplified if you never use the drop bar part of the bars. Trusting your grip to the hoods can result in your hands being shaken off the bars. I’d sy the great majority of riders, on the correct size bike are totally fine and at home on drop bars and you soon learn the new technique of braking, shifting and steering.

Redshift Top Shelf view from the bars

For those that can never reach the drops, from lack of confidence, poor position or just being physically unable to then Redshift claim their Top Shelf bar can address all this.

The bars have the shorter reach, shallow drop and useful flare of their standard Kitchen sink bar that I really liked in my review here, have a look at the review as all the comments and findings apply to the top shelf bar just with a 50 or 70mm rise. The bar in the picture has a 50mm rise. I fitted it to my MTB. The reason for this is that I’ve always wanted a “monstercross” bike, a drop bar MTB, why? well there doesn’t need to be a reason to mess with bikes.

monstercross Swift with redshift Top Shelf bar

I’ve tried this before with not much success, this is because a MTB generally has a longer top tube than a gravel/road bike and makes you feel really stretched out. check out the video below for a visual explaination of this. Plus doing this sort of recreates the position someone with drop bar issues might have and became the perfect rig to test the Top Shelf bars on.

Its taken the bike from a compromise that started to make my neck, shoulders and lower bike ache after 15 or so miles to one that I choose to do longer rides on. The drops have become totally useable, not only for technical riding but also just for cruising along on. It’s not 100% perfect, that top tube is always going to be long but the 50mm of rise has raised all the contact poits by 50mm which has increased the useability no end.

Now if your gravel bike, with an inherently shorter top tube has a Top shelf bar fitted it might give you the position you crave and give you the confidence to explorwe firther off the beaten track.

The Redshift top shelf bar isn’t for everyone and Redshift admit this themselves but it might just be the key part you’re looking for to open up you gravel horizons.

check out the video below of my first few rides and impressions of the Top shelf bar in action